As discussed in my previous post, blooming gel is a beginner friendly way to create intricate designs for press-on nails. With this gel you are able to place drops of coloured gel on top of an uncured coat of blooming gel and watch the polish spread in order to create a variety of different designs.
Easy Blooming Gel Designs
Here are some trendy designs you can create using blooming gel:
- Marble Nails:
- Apply a base coat and base colour to the press-on nails curing after each layer.
- On a separate surface (such as a plastic sheet) mix 2-4 different colours you would like to apply to the marble effect, making sure you aren’t blending together. You want individual streaks of to colour to be visible like they would be in marble.
- Add a layer of blooming gel, and while still wet apply strokes of your mixed colours on top. Let the colours spread to their desired amount and then cure the nail.
- Apply a topcoat and cure.
- Crocodile Nails:
- Apply a basecoat and base colour to the press-on nails curing after each layer.
- Apply a layer of blooming gel, and while still wet apply stripes of a second colour down the center of the nail from the base to the tip.
- Then apply shorter stripes of colour on either side of the nail in line with the middle stripes. Let these spread to the desired amount and then cure.
- Apply and topcoat and cure.
- This look can also be created using dots rather than stripes, and having the stripes/dots on the side in between the middle stripes rather than directly next to them. Crocodile scales do not always look one specific way, so there is lots of opportunity to play around with it.
- Flower Nails:
- Apply a basecoat and base colour to the press-on nails curing after each layer.
- Apply a layer of blooming gel. Using the dotting tool apply 5 dots of the second colour in a circle shape, like the petals on a flower, leaving room in the middle. Cure once it has spread the desired amount.
- For extra flare you could add gems in the center of the flower.
- Apply a topcoat and cure.
- Aura Nails:
- Apply a basecoat and base colour to the press-on nails curing after each layer.
- Apply a layer of blooming gel, and then add a dot of colour to the center. Let the circle spread until the desire amount and cure. To add more contrast between the base colour and aura colour you can repeat this step multiple times with different colours entire the desired effect is created.
- Apply a topcoat and cure.
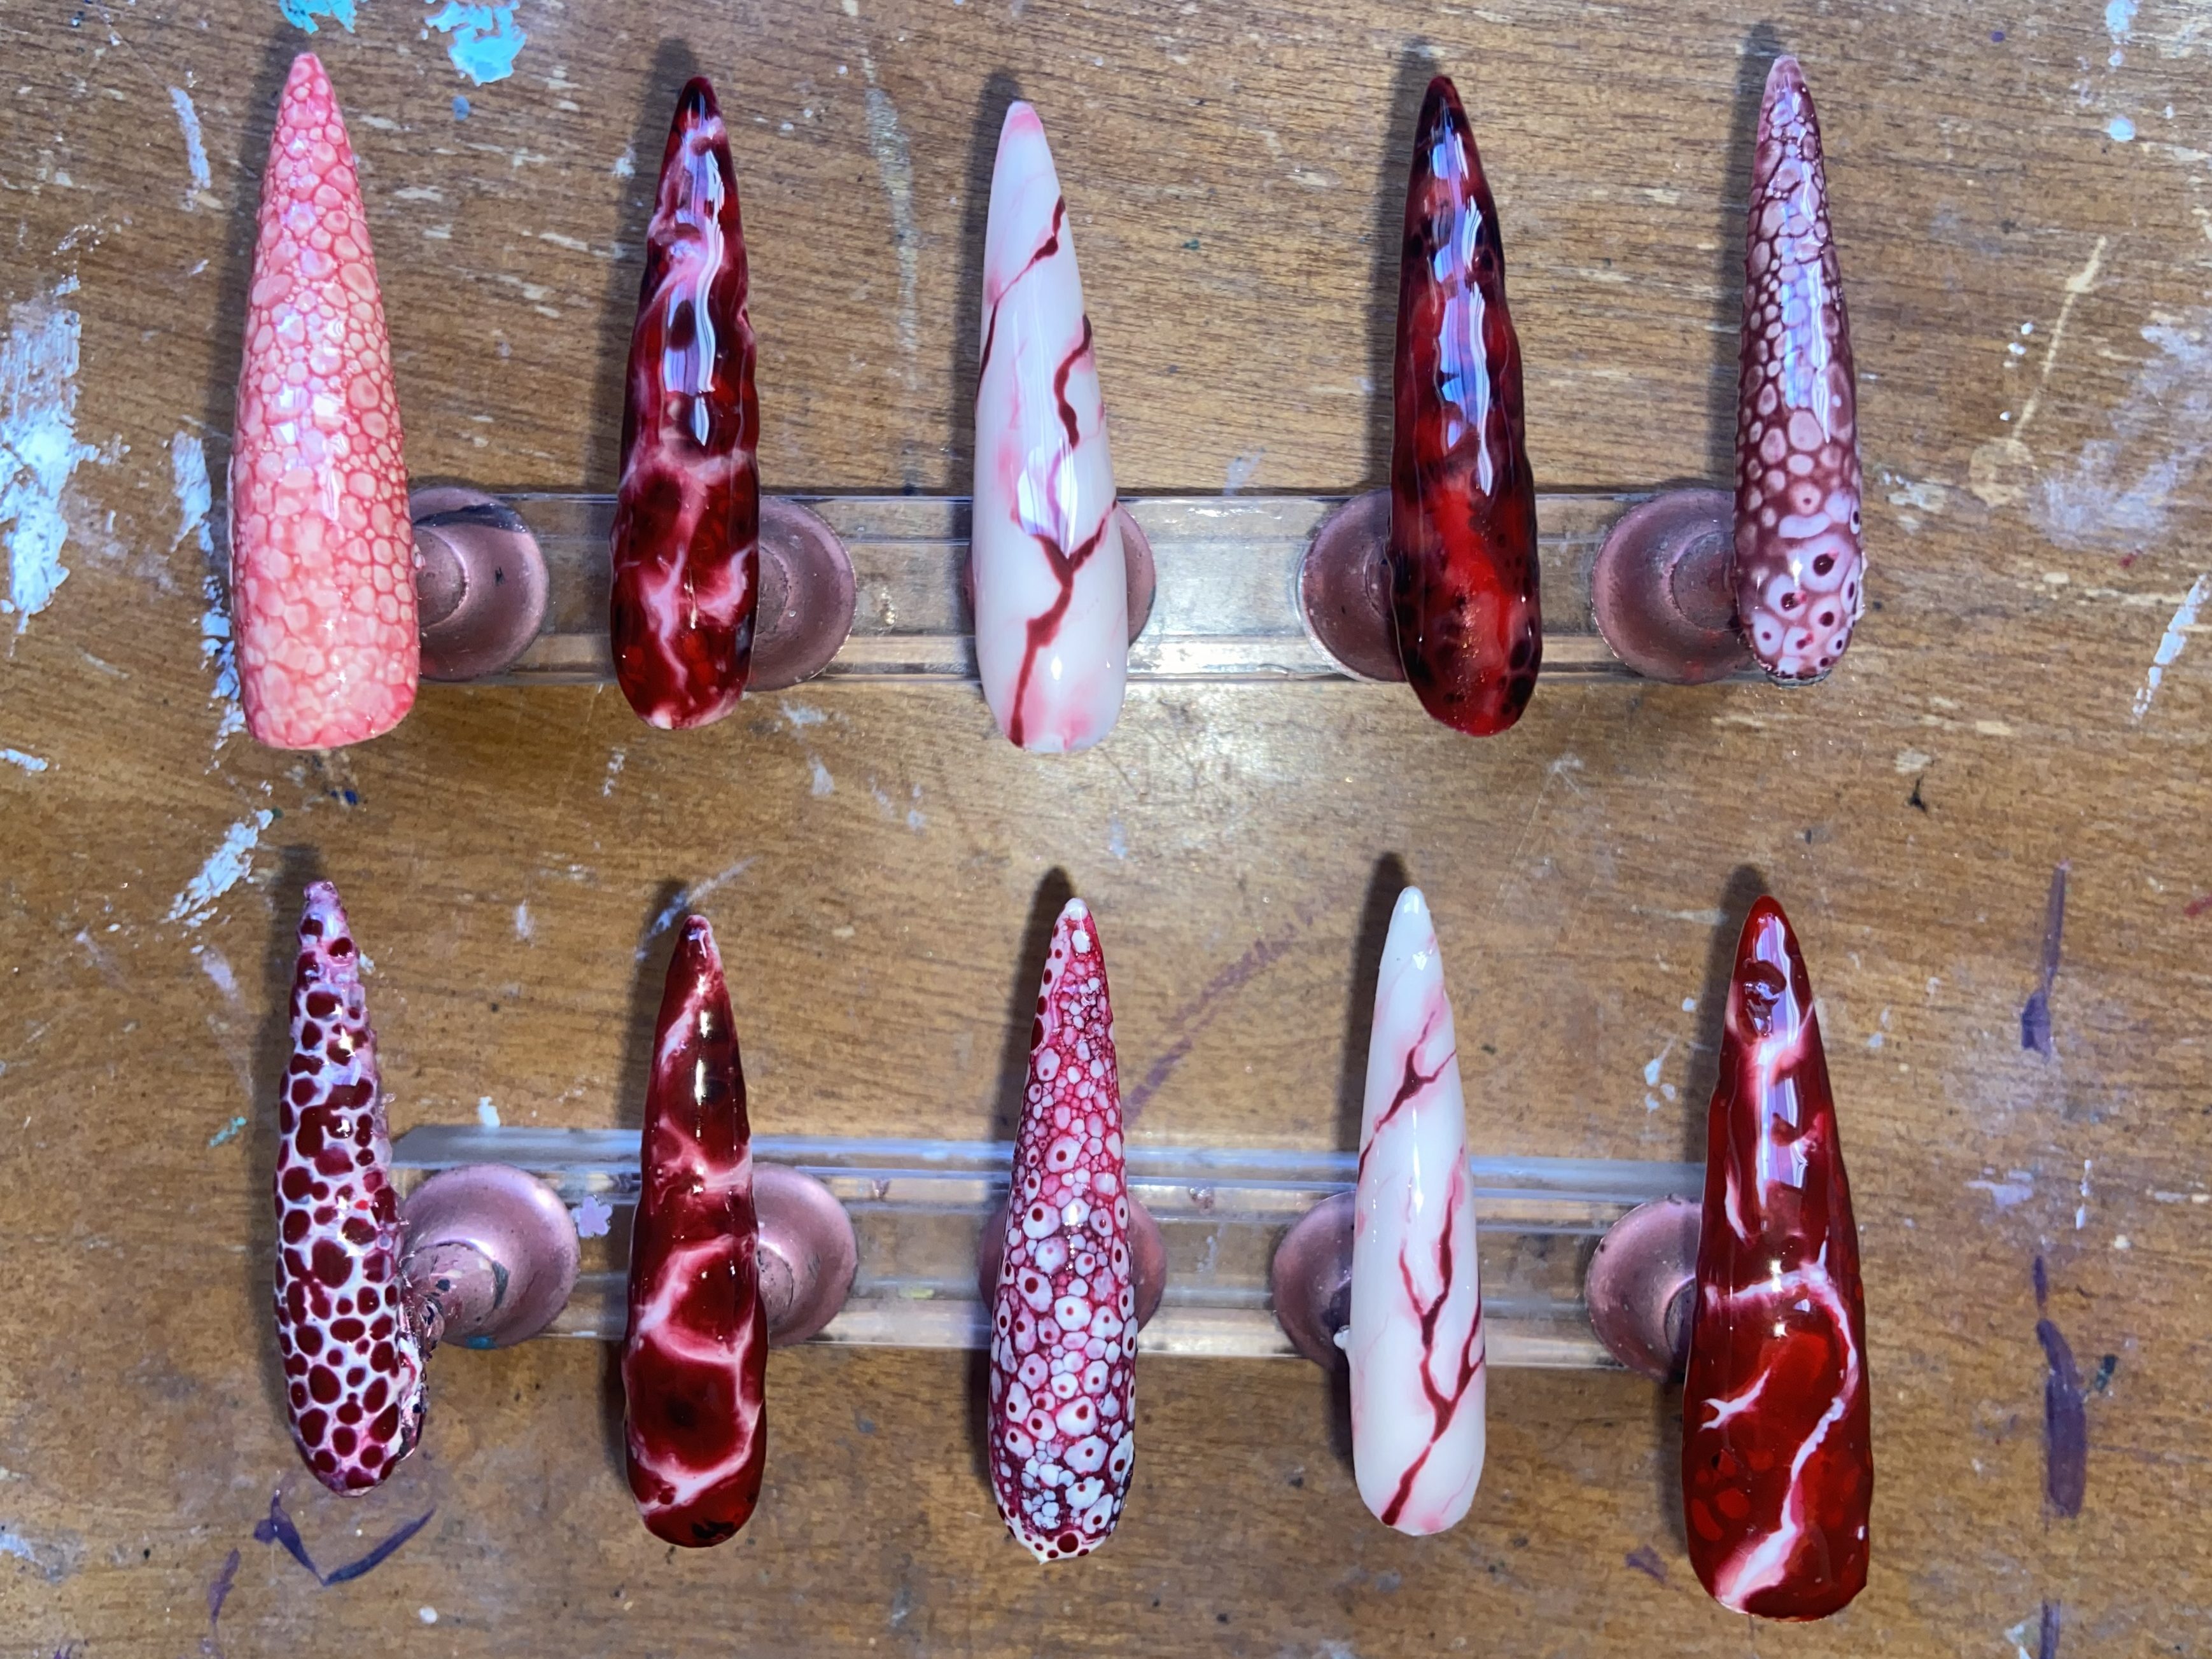
These are all popular trends that are created using blooming gel. However there is so much more that can be created with them. One of my favourite ways to do my nails is by freestyling with blooming gel and a variety of colour to create very intricate designs. The ones shown above were highly inspired by images of mold and bacteria in a petri dish. I have also created these “meat nails” inspired by Lady Gaga’s iconic meat dress.
Blooming gel is such a fun tool, and I highly recommend it for anybody who is wanting to experiment with easily created designs.

Leave a comment